

Use Trackstar webhooks to be notified when certain events occur. The timing of a webhook event related to a resource (e.g. Orders, Inventory, Products, etc.) will coincide with the sync frequency of that resource.Documentation Index
Fetch the complete documentation index at: https://docs.trackstarhq.com/llms.txt
Use this file to discover all available pages before exploring further.
Resource webhooks (e.g.
order.created, inventory.updated) are not sent during a connection’s initial sync. They are only sent for changes detected after the initial sync completes.However, the connection.historical-sync-completed webhook is sent when the initial sync finishes for each resource type. Use this to know when data is available for querying.For more information on how initial syncs work, see the Syncing Data guide.POST requests with the Content-Type set to application/json, and can be configured within the Trackstar Dashboard.
Webhook Message Schema
| Field | Type | Description |
|---|---|---|
connection_id | string | The ID of the connection from which the event occurred. |
data | object | The created or updated object. |
event_type | string | The type of event that occurred. See above for the list of types. |
integration_name | string | The name of the integration from which the event occurred. |
previous_attributes | object | Only present on updated events. The previous values of the fields that were updated. If the change occurs within a nested field, we will represent that change via a "." joined string where integers represent the index of the array, and strings represent object keys. |
Sample Webhook Message
status changed from “open” to “received” and the received_quantity of the second line item changed from 1 to 2.
line_items.1.received_quantity is referring to data.line_items[1].received_quantity
Searching & Filtering Webhooks
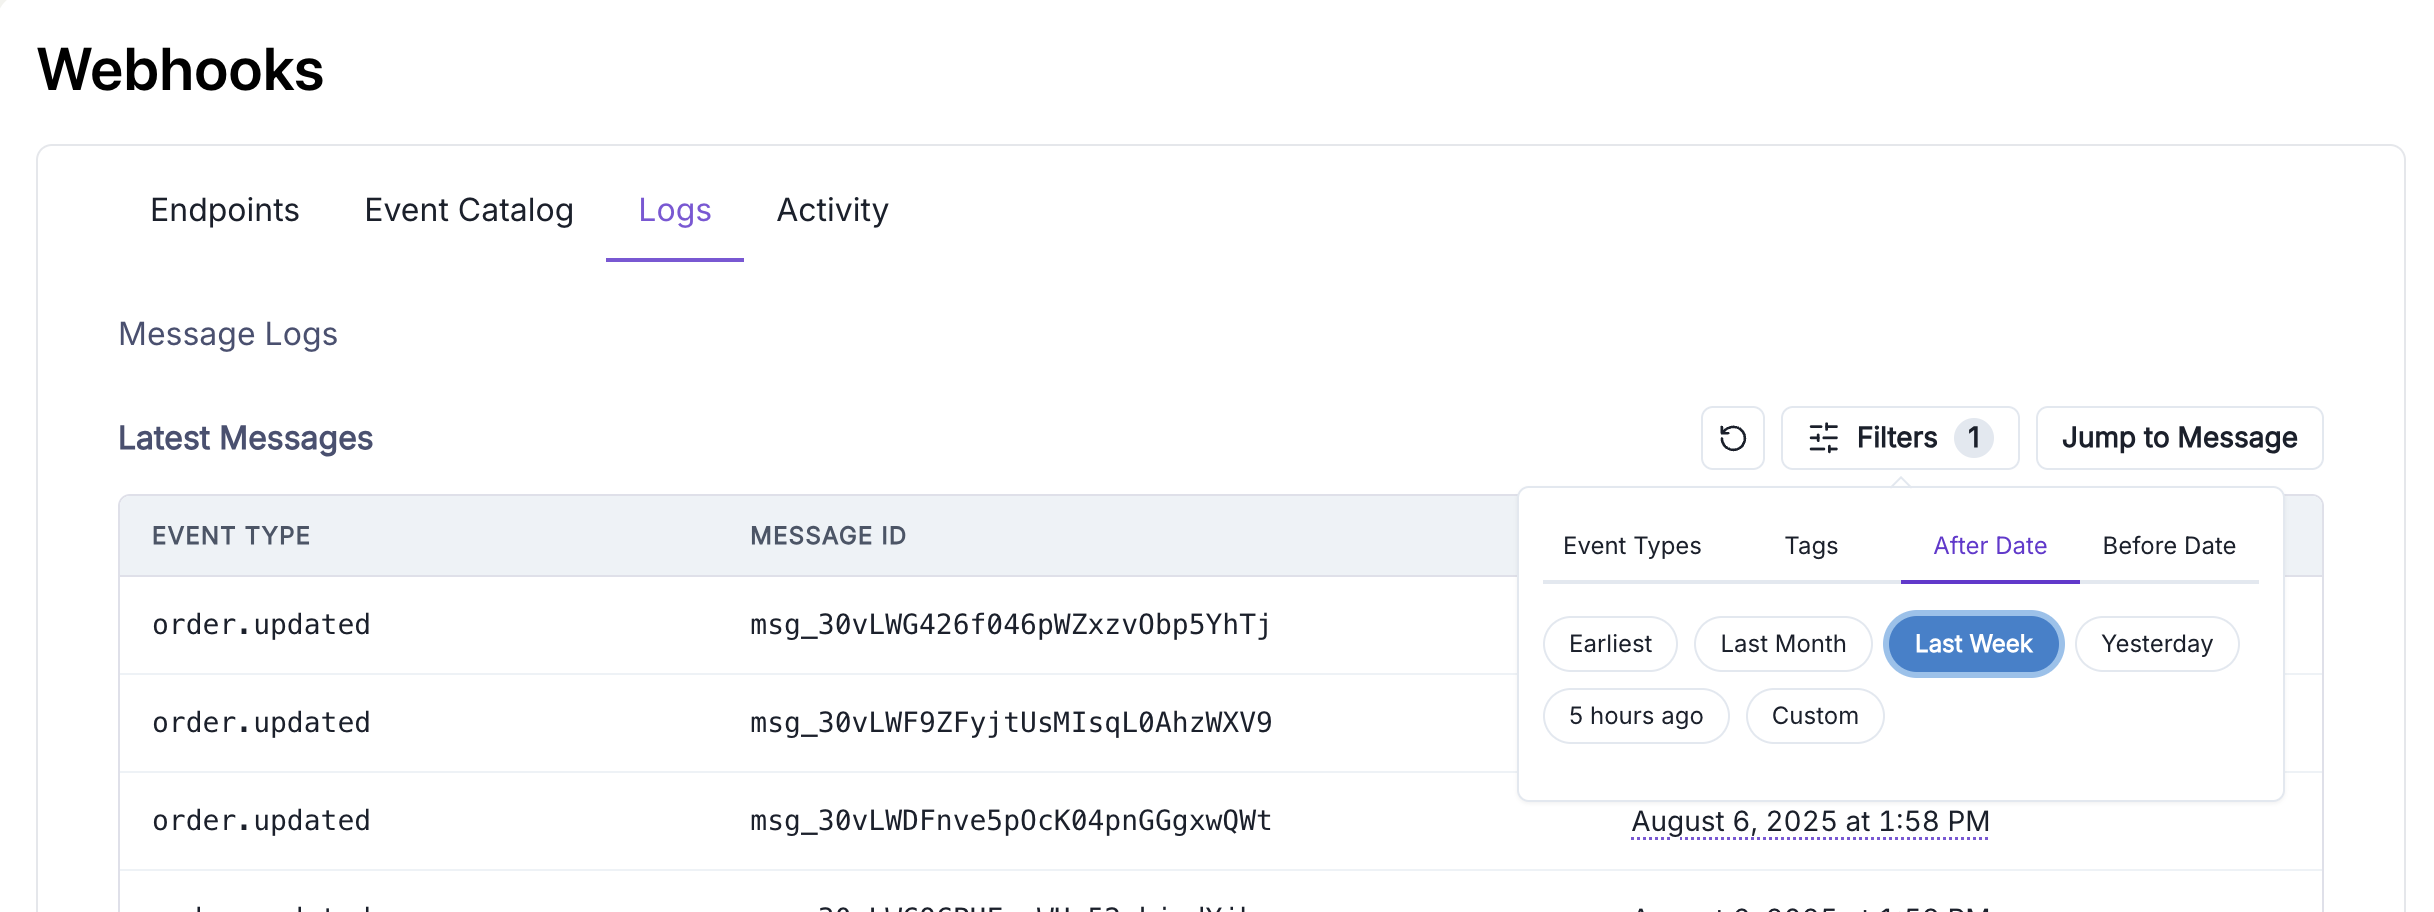
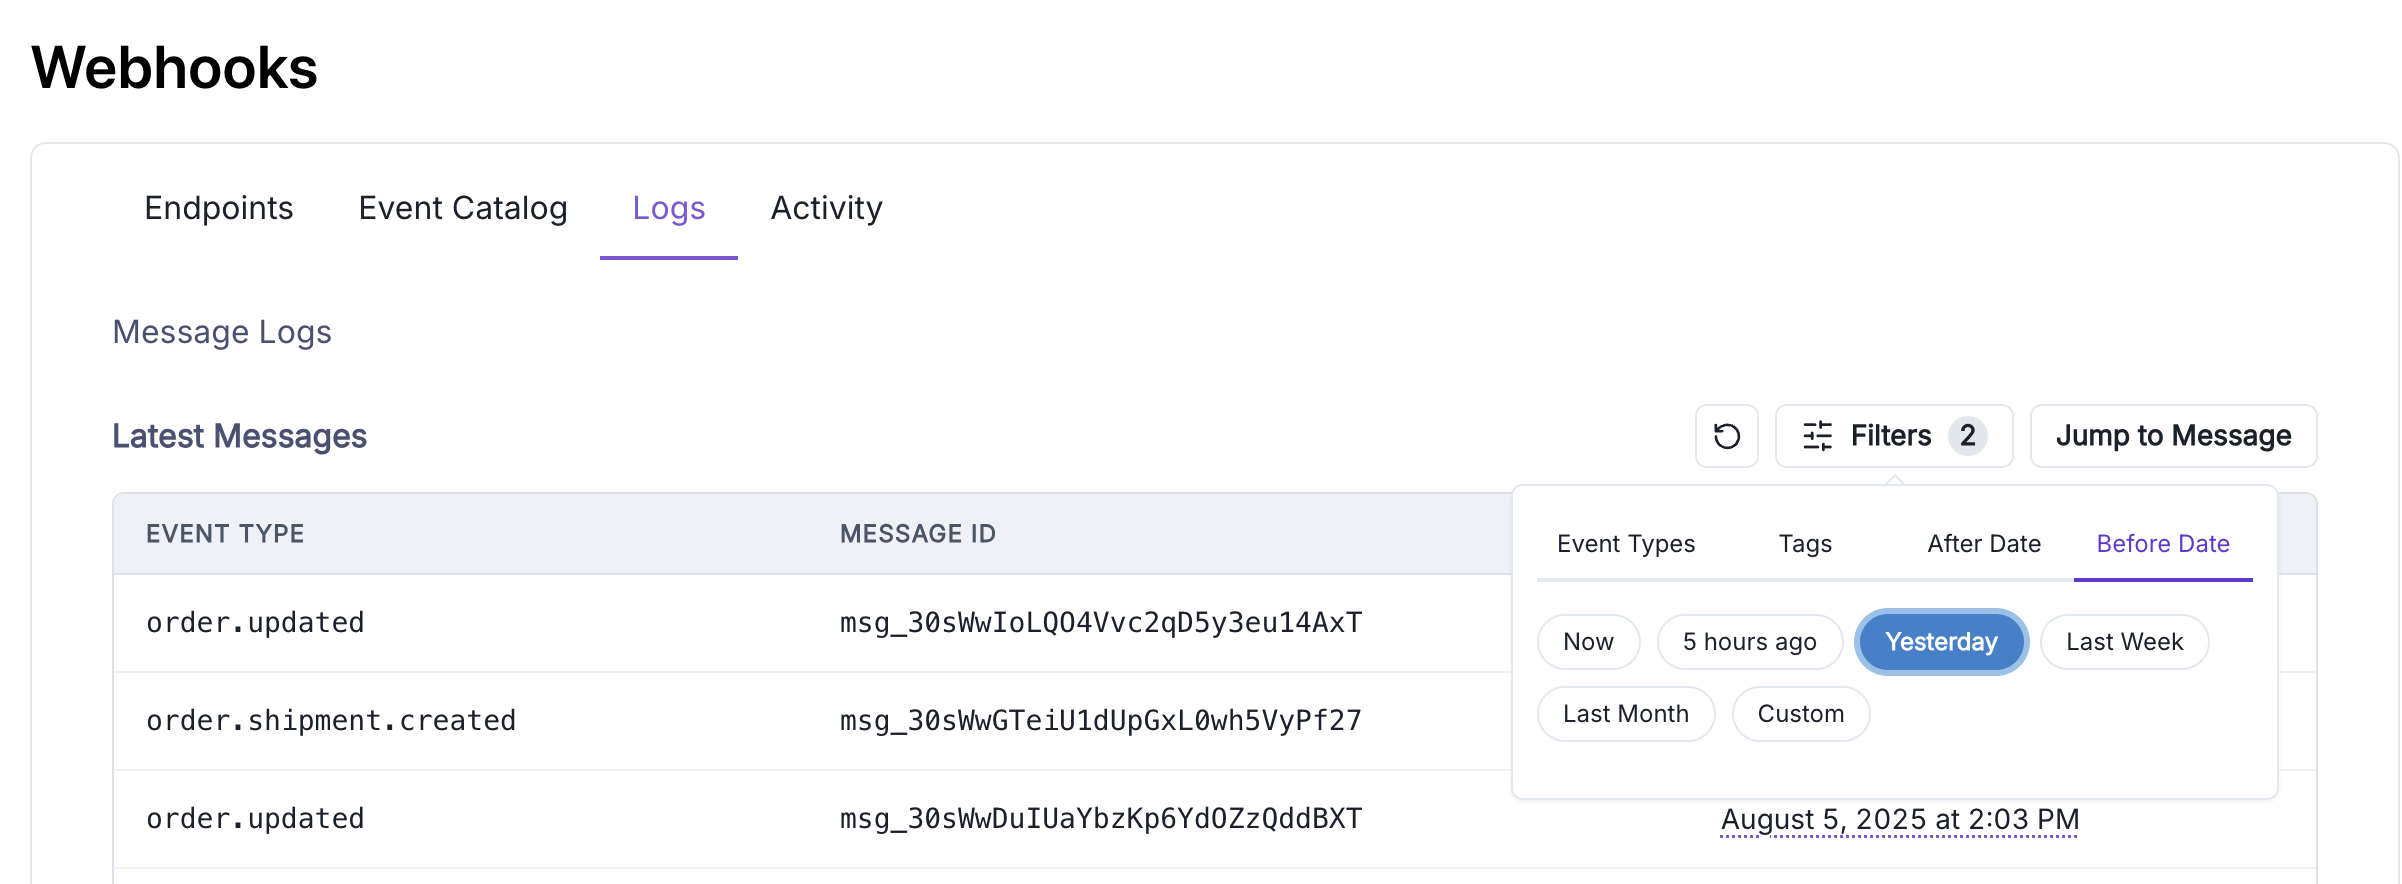
In addition to filtering webhooks by Event Type, you can also filter by both Connection ID and Resource ID (e.g. the ID of an inventory item) within the “Tags” tab: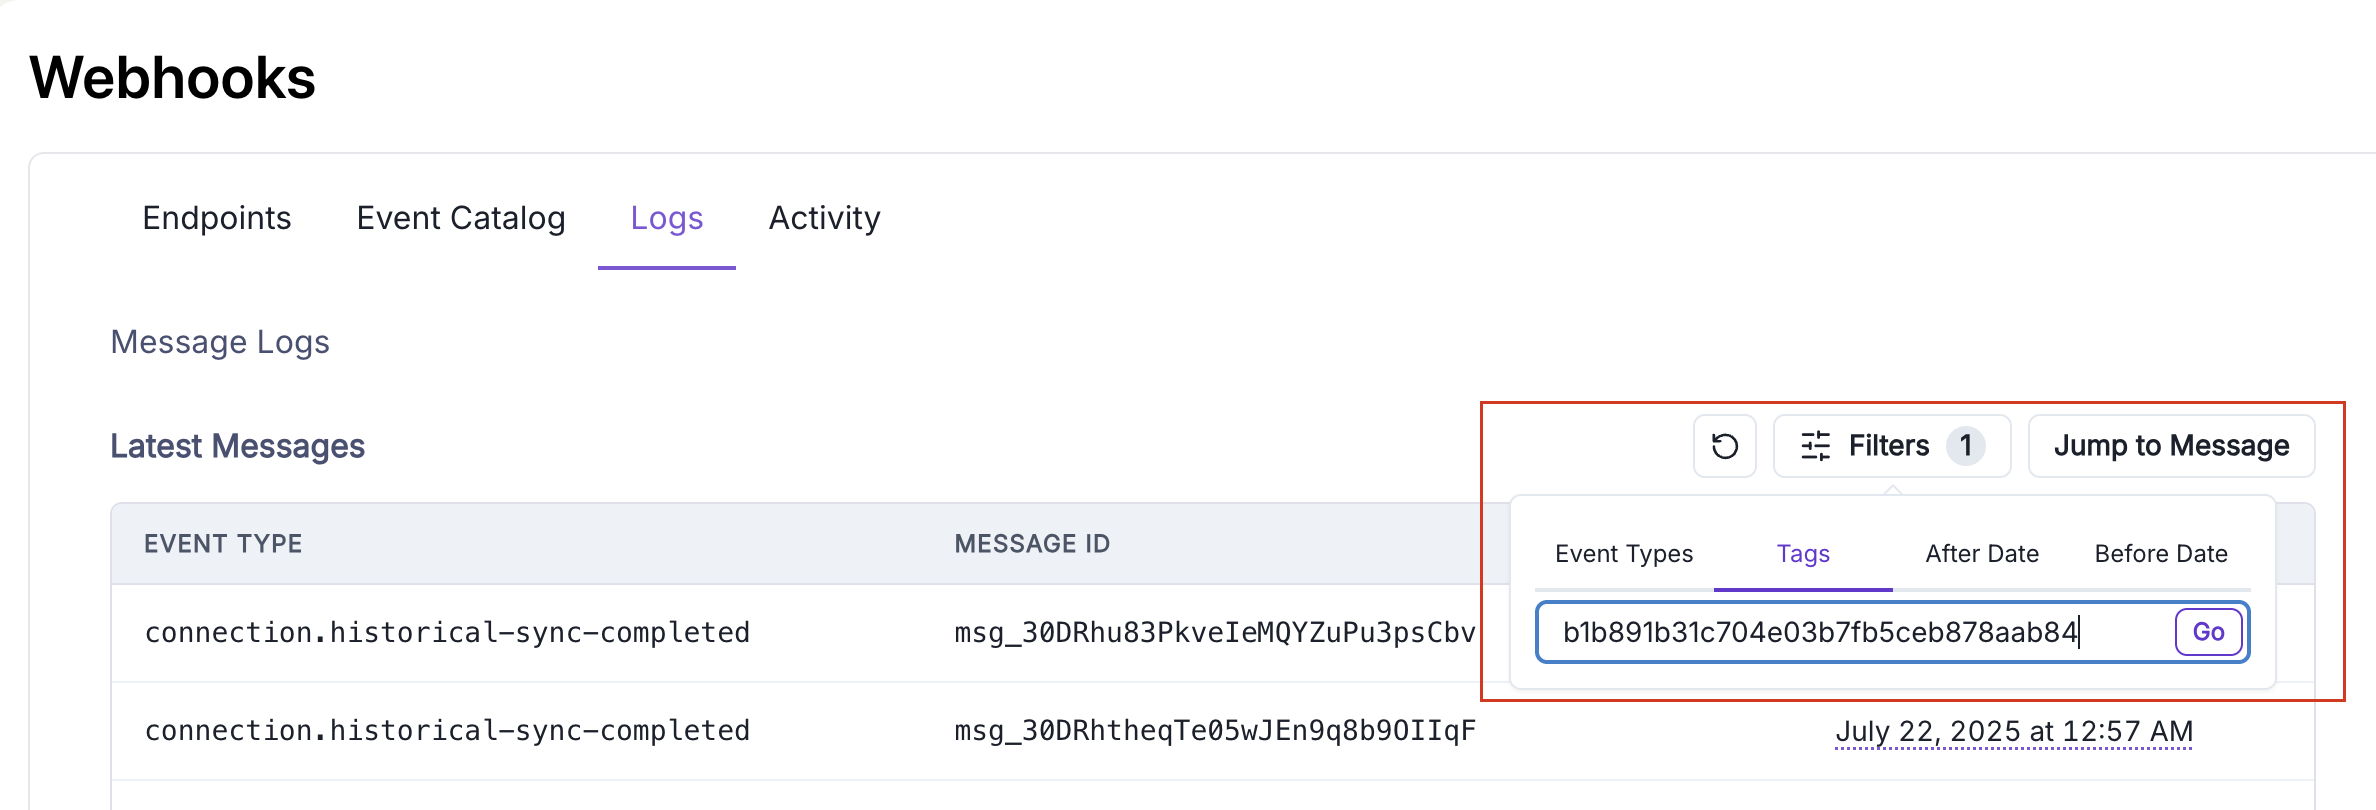
Verifying Webhook Signatures
Trackstar uses SVIX as its webhook provider. Information on how to verify the webhook signature can be found in the SVIX documentation.Webhook Transformations
Webhook transformations allow you to modify webhook properties in real-time using JavaScript before they are sent to your endpoint. You can change the target URL, modify the payload, or even cancel webhook delivery based on custom logic.Separating Test and Production Environments
A common use case for transformations is routing webhooks to different endpoints based on the environment. Since Trackstar doesn’t currently have separate test and production webhook environments, you can use transformations to route webhooks to different URLs based on attributes in the webhook payload. For example, you might want to:- Send webhooks from test connections to a staging/test endpoint
- Send webhooks from production connections to your production endpoint
connection_id and routes webhooks accordingly.
Example: Routing by Connection ID
Here’s a practical example that routes webhooks to different URLs based on whether the connection is a test or production connection:Example: Routing by Customer ID
If you don’t want to keep track of a list of static connection IDs, you can also prefix the customer ID on your test connections with something likeuat and filter based on that field:
Example: Routing by Integration Name
You can also route based on the integration name if you want to handle certain integrations differently:Setting Up Transformations
To configure webhook transformations:- Navigate to the Trackstar Dashboard
- Click on your webhook endpoint to view its settings
- Go to the “Advanced” tab
- Locate the “Transformations” card
- Enable transformations and paste your custom JavaScript code
- Save your changes